
Setup Guide: KEB VFD EtherCAT Communication with a Beckhoff PLC
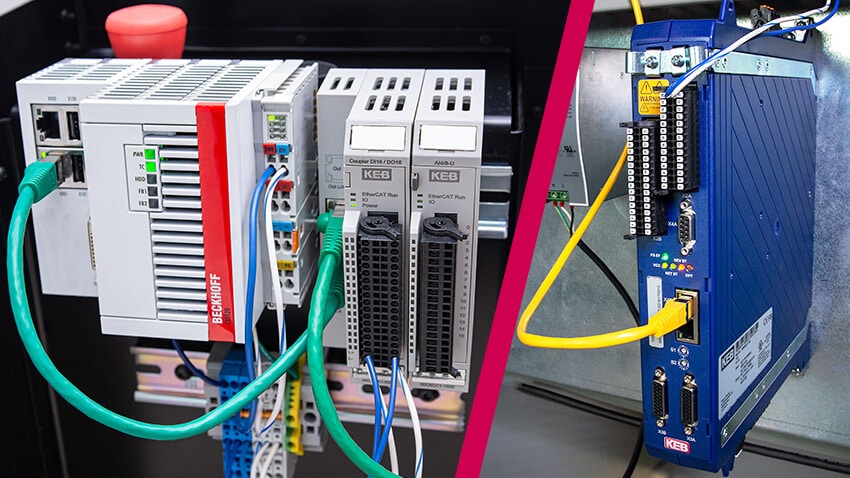
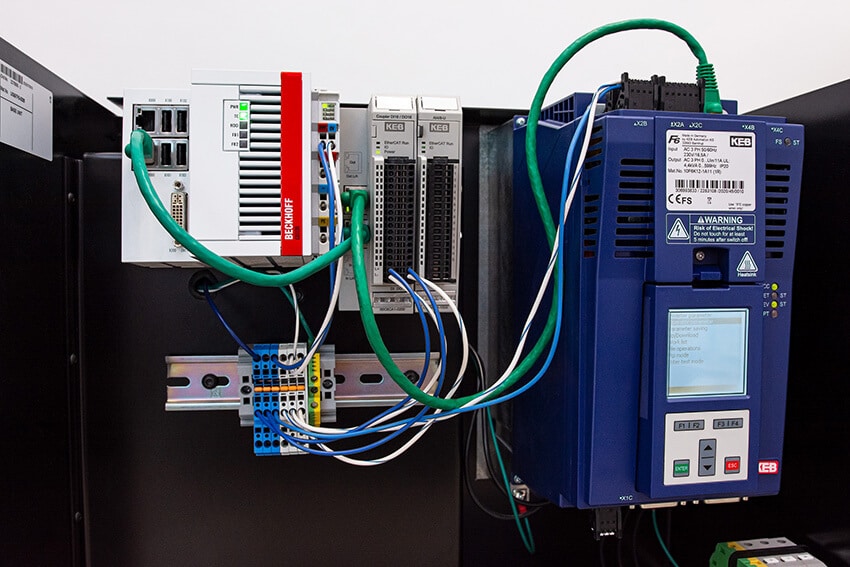
This post shows how to set up EtherCAT communication between a Beckhoff CX5120 Embedded PC and an S6 EtherCAT drive.
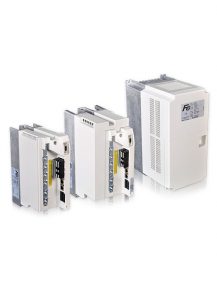
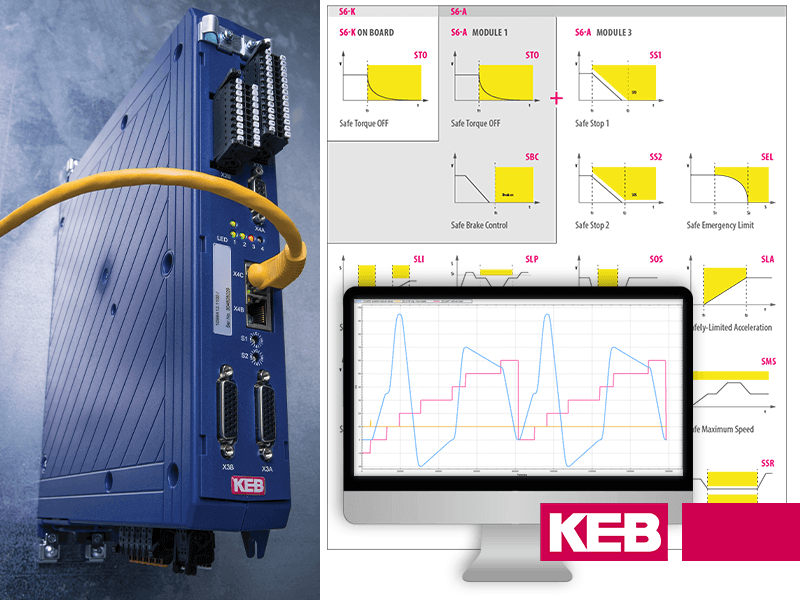
KEB’s EtherCAT drives are ideal for machine builders who serve the global market. The drives feature control loops with a 62μSec update rate. This allows precise motor control for motion control applications. Motor types include induction motors, AC servo motors, synchronous reluctance motors, and linear motors.
We have developed a guide to set up a KEB VFD with a Beckhoff PLC in four easy steps. You can watch the video below or follow the written guide depending on your preference.
Related Articles: Setup Guide for Beckhoff PLC and C6 EtherCAT I/O modules
Related Articles: Setting up Ethernet over EtherCAT with a KEB VFD and Beckhoff PLC
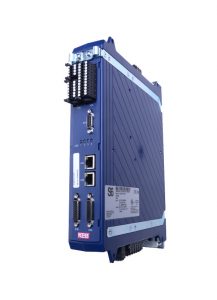
In this example, a Beckhoff CX5120 embedded PC is being used to connect with a KEB S6 VFD. However, the steps to set up a KEB F6 drive are nearly identical.
#1 – Create a KEB VFD device description and import it into TwinCAT
First, open Combivis 6 software and connect to the KEB VFD using the KEB USB-Serial converter. Project -> KEB Device Scan.
Watch this COMBIVIS Tutorial: Connecting to a KEB device
Once it is connected to the drive, navigate to Wizards and select Fieldbus. Load the standard PDO mappings from “Stored Mappings” or drag and drop parameters into the process data mappings.
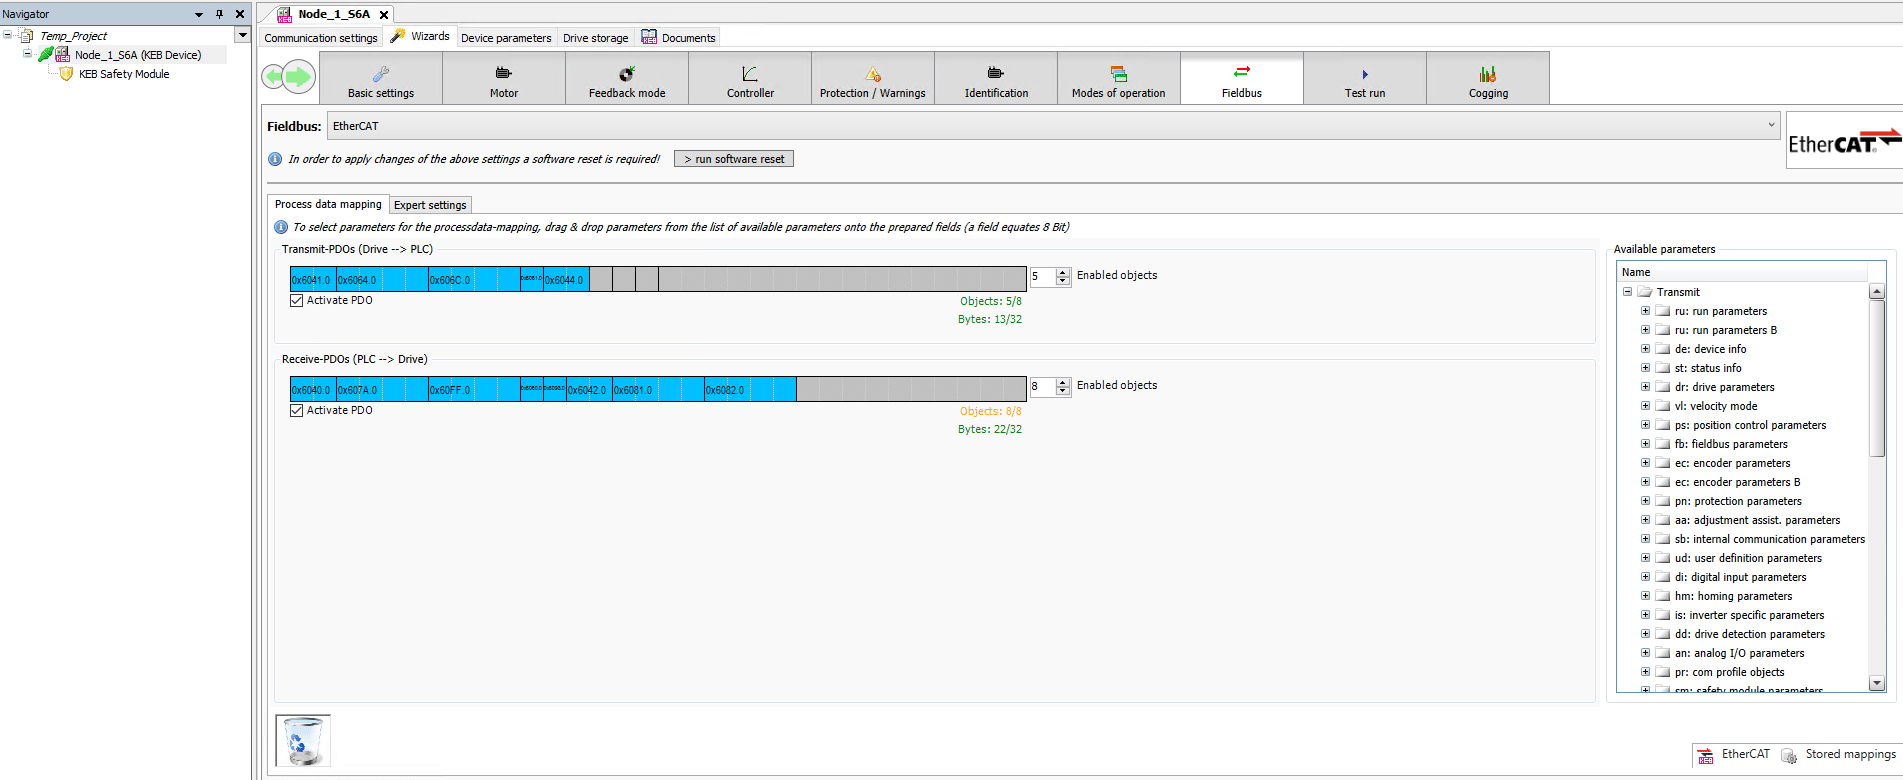
Next, select EtherCAT -> Export device description to generate an ESI file for the connected drive. Configure any necessary settings and save the description as an EtherCAT XML file.

Copy the save the device description to the following directory: C:\TwinCAT\3.1\Config\Io\EtherCAT. To load the ESI file into TwinCAT, select TwinCAT -> EtherCAT devices -> Reload Device Descriptions or restart TwinCAT.
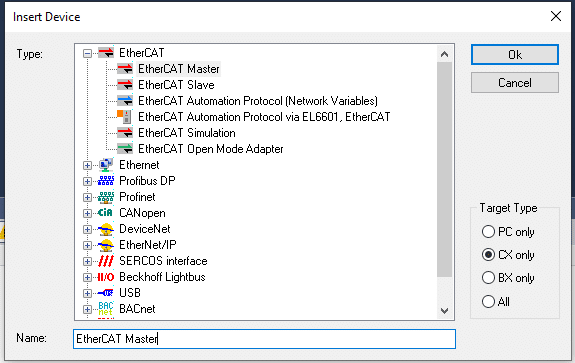
#2 – Insert KEB EtherCAT VFD modules into the project according to system configuration
Now, it’s time to set up the EtherCAT configuration according to the desired topology. First, add an EtherCAT master inside the TwinCAT project by right-clicking Add New Item under I/O devices. Insert the EtherCAT Master according to the Target controller type.
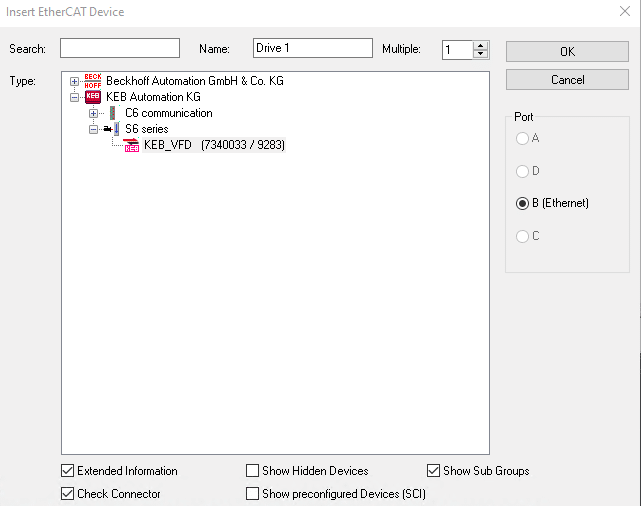
Next, attach the KEB VFD to the EtherCAT Master. Right-click on the EtherCAT master and select insert device.
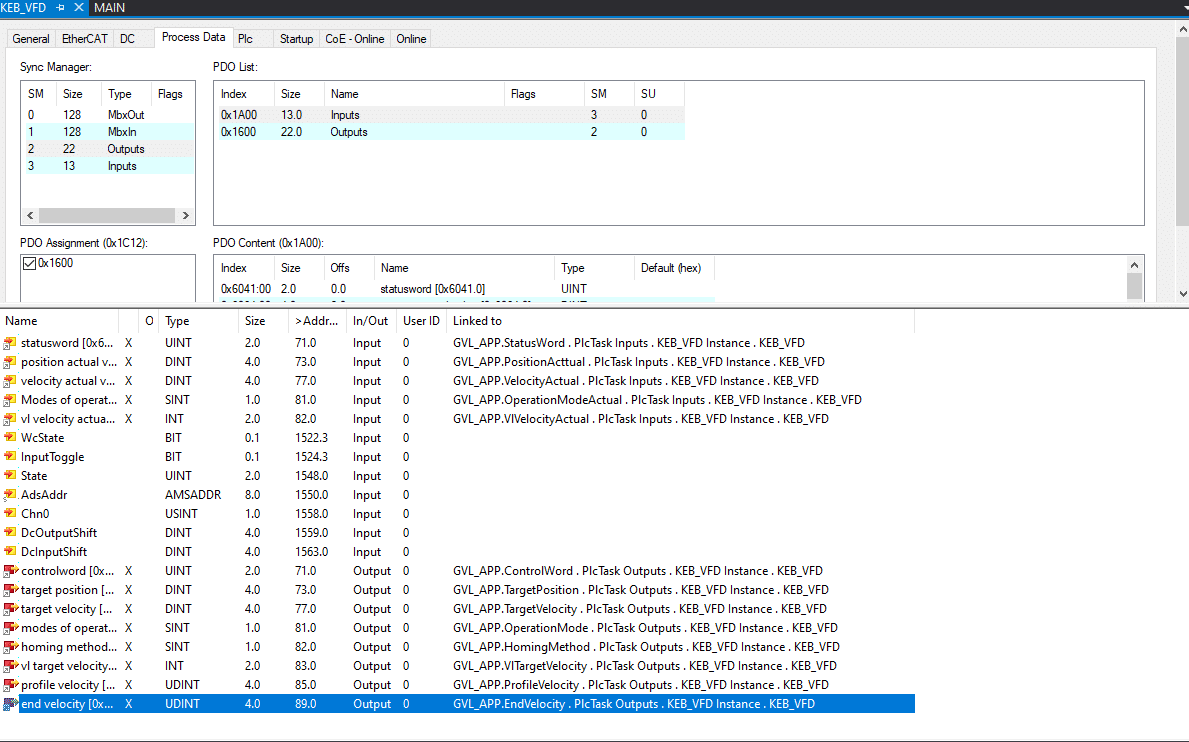
#3 – Create and link variables to the KEB VFD Process Data
If necessary, create variables to link to the KEB VFD.
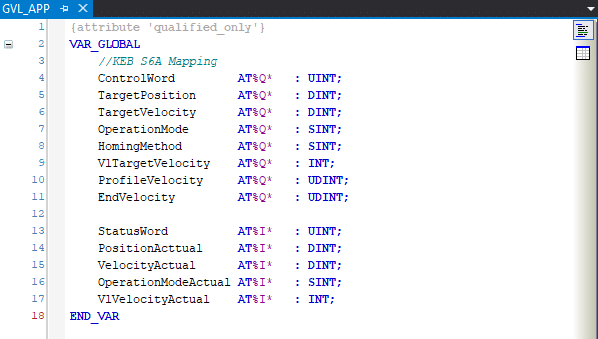
Next, ensure that variables are linked to the VFD process data.
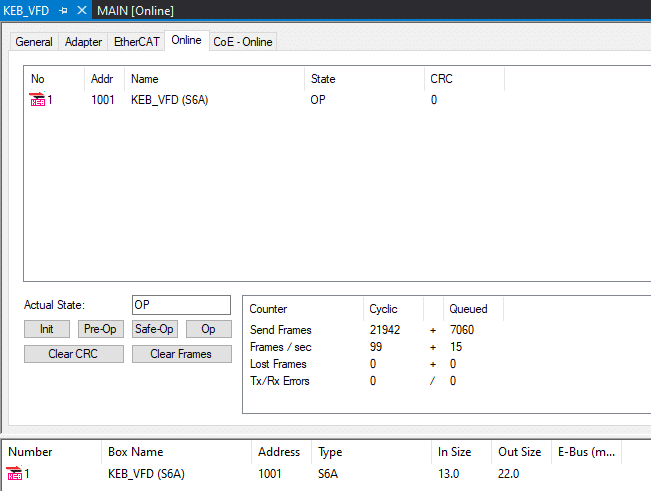
#4 – Build a solution and download it to the Beckhoff PLC
At this point, the project can be compiled and downloaded into the PLC. After downloading the project, log in to the PLC and verify that EtherCAT is operational and that the process data is transferring.

At this point, your EtherCAT configuration and setup of the KEB drive are complete. If you would like to discuss your application with a KEB engineer – contact us today!
Related Articles
Let's Work Together
Connect with us today to learn more about our industrial automation solutions—and how to commission them for your application.