
Setup Guide: C6 IO EtherCAT Communication with a Beckhoff PLC
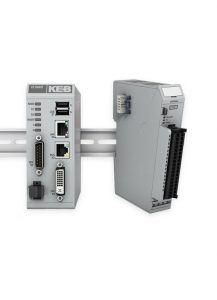

This post shows how to set up an EtherCAT communication between a Beckhoff CX5120 Embedded PC and C6 EtherCAT I/O modules.
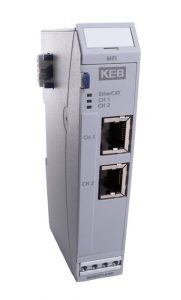
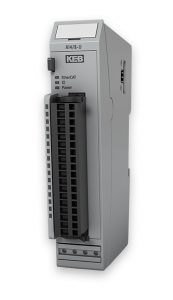
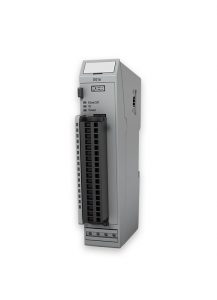
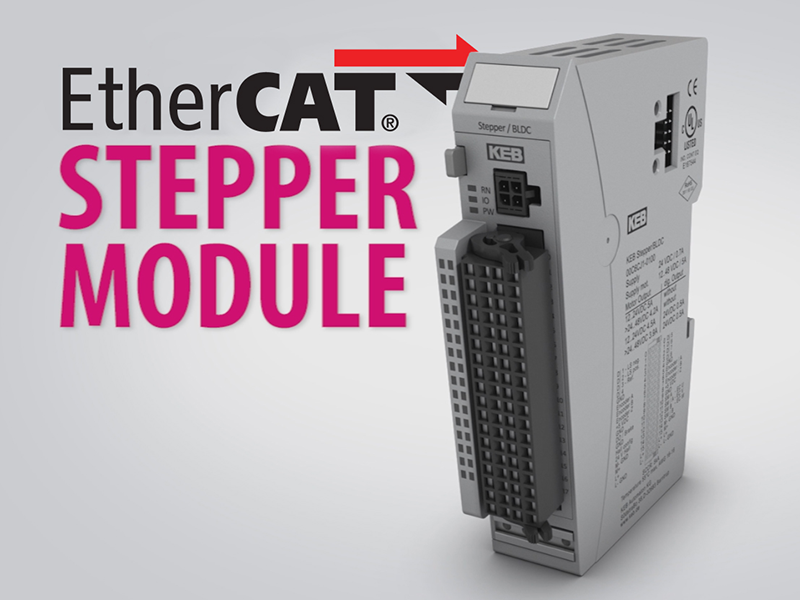
KEB’s line of EtherCAT I/O is scalable and is available in a wide range of options and configurations. EtherCAT allows for efficient and high-speed data transfer to meet the demands of high-performance machines. Each module is DIN rail mounted and easily snaps into each other. With a compact design and EtherCAT’s flexible topology, C6 EtherCAT I/O reduce wiring and installation cost.
In this example, the Beckhoff CX5120 embedded PC is connected to a BusCoupler + DI16/DO16 module, and 4 – channel Analog Output module.
#1 – Import KEB IO description files into TwinCAT
The EtherCAT description files of each KEB IO module must be imported into TwinCAT. The ESI file KebIoModules.xml includes all standard KEB I/O modules and can be downloaded from this link (click here to download) or exported from Combivis Studio 6. Copy the KebIoModules.xml file to the following directory: C:\TwinCAT\3.1\Config\Io\EtherCAT.

Next, restart TwinCAT and select TwinCAT -> Reload Devices.

#2 – Insert KEB EtherCAT IO modules into the project according to system configuration
It is now possible to set up the EtherCAT configuration according to the desired topology. First, add an EtherCAT master inside the TwinCAT project by right-clicking Add New Item under I/O devices. Insert the EtherCAT Master according to the Target controller type.

Next, insert a KEB Bus Coupler after the EtherCAT master. The Bus Coupler connects the EtherCAT master to EtherCAT slaves and provides the E-bus power supply to connected I/O modules. Right-click on the EtherCAT master and select insert device. The KEB IO modules imported from the KebIoModules.xml file can be found under KEB Automation KG.

Finally, add any additional I/O modules in the system according to the desired topology. Right-click on the previously added Bus Coupler and select insert device. Insert the desired I/O modules found under the KEB Automation KG group.

#3 – Configure IO module settings
Each IO module includes EtherCAT slave settings preset from the device description. The default settings are generally sufficient for most EtherCAT configurations. To edit EtherCAT settings or link variables, select the desired I/O module to view the configuration options.

At this point, the KEB I/O configuration is complete. The PLC project can be compiled and downloaded into the PLC.
Related Articles

Let's Work Together
Connect with us today to learn more about our industrial automation solutions—and how to commission them for your application.