
How to Install KEB Brake: Type 38 Combistop

Video Transcript
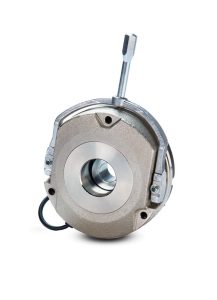
This video is designed to show you how to install a KEB Combistop Brake.
It is our spring applied power off brake that is considered fail safe. I will be installing it on the back of a motor, but the steps are similar for all applications.
Before starting
You will want to ensure the following conditions:
- First, provide a suitable secondary friction surface, such as cast iron or steel. The surface should be free from grease and oil and only cleaned with an alcohol based solvent. If no surface is available, a friction disc or flange should be used.
- Second, ensure the shaft is centered with the mounting holes.
- Third, ensure there are no obstructions in the air gap, which is between the magnet and the armature.
The brake assembly is done with no power being supplied to the brake.
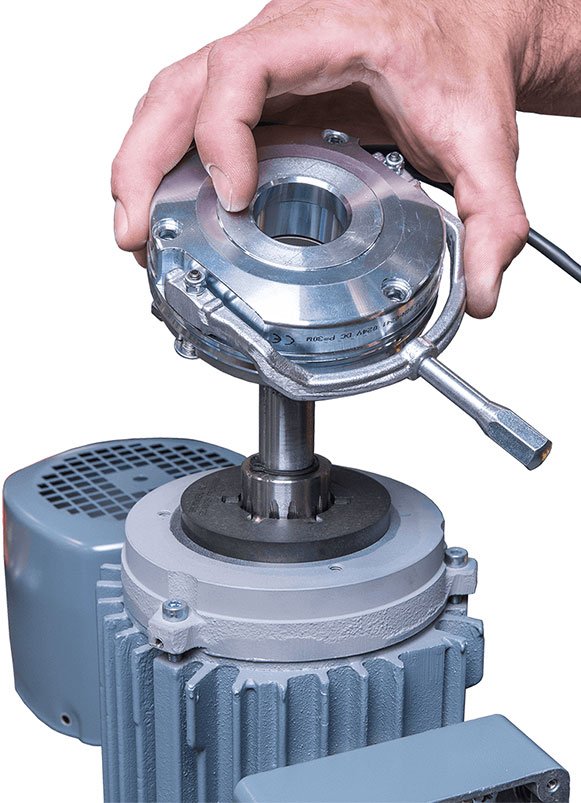
To install the brake
- First mount the hub onto the shaft. On this particular video we have a key-way and a snap ring. Ensure the hub does not rub on the secondary friction surface. We also have a snap ring on the top of the hub to prevent it from sliding axially along the shaft.
- Another common method to secure the hub axially is to use set screws.
- Next slide the friction lining on the hub and align the fingered connection. Then take the assembled magnetic system and slide it over your friction lining and hub lining of your bolts.
- Next use your three head cap screws to tighten the brake down firmly by hand.
- Note: The magnetic system comes with a factory pre-set air gap; however, excess wear or tampering with the air gap during installation may increase or decrease the air gap from the nominal distance.
To check the air gap use a feeler gauge around the entire brake circumference. If the air gap is either too small or too large from the nominal specification for your size brake, then it needs to be readjusted.
- First, loosen the top 3 headcap screws slightly with an Allen wrench
- Next, take a wrench and adjust the adjustable spaces to either make the airgap either larger or smaller. (Note that you may need to adjust just 1, 2, or possibly all 3 spacers depending on how the air gap currently is set).
- Next, re-tighten the top 3 head cap screws and re-measure the airgap with the feeler gauge around the entire brake circumference.
If needed, repeat these steps until the air-gap is set at the nominal distance. If you have the optional dust protection ring, slide it on over the magnetic system and ensure the edges are in the grooves on the magnet housing and on the flange.
That is how you install a KEB COMBISTOP Brake.
Related Articles
Let's Work Together
Connect with us today to learn more about our industrial automation solutions—and how to commission them for your application.