
VFD Parameter Scope Trace Software – COMBIVIS 6
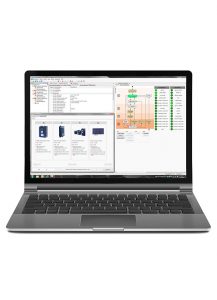
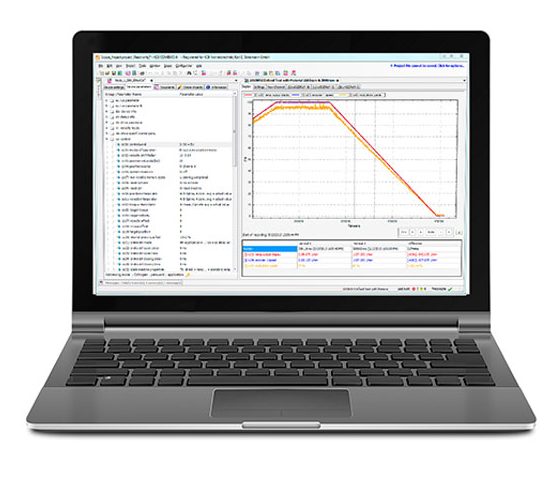
It’s hard to overstate the benefits of KEB’s parameter and scope trace functions in COMBIVIS 6 software. This is particularly useful for commissioning new machines using closed-loop VFD control. With the Combiscope function, our application engineers can monitor and record up to 16 channels in real-time able to monitor the drive and system behavior during machine setup or operation.

Before you Begin
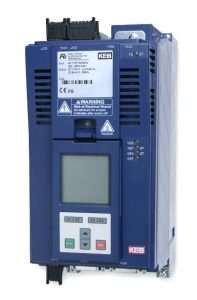
First, you need to connect the COMBIVIS connection cable to the LCD keypad. Plug the cable into the X6D port on the LCD keypad operator (see image above), then go over to your computer with COMBIVIS 6 open. Once you open the software you will need to scan for a KEB device. You can follow the video tutorial at the top of this article or click on the scan for device icon on the top bar like the screenshot below.

When you open COMBIVIS 6 software you can go through these steps to connect to a device.
- Go to the start-up and configuration tab.
- Click the button “Scan for KEB Device.”
- A window will appear, and you will click “Start Search.”
- Once COMBIVIS finds the device highlight and click “Add selected devices.”
COMBIVIS is now connected to the KEB device.
Watch: Cables for Connecting to a KEB Device
Upload your Parameters to a COMBIVIS Project
Watch: General Tutorial for Uploading Parameters to COMBIVIS 6
When we say “Upload” in COMBIVIS software, we mean importing parameters programmed on a VFD and uploading these parameters from the VFD onto your computer.
To perform a parameter upload, navigate to the “Tools” tab at the top of the window. Select parameter backup. Ensure the correct device is selected and both the “Device parameters” and “Operator parameters” checkboxes are selected. Click on the “Start” button. A warning pop-up will remind you not to perform parameter uploads while the machine runs. Click the “Yes” button, and the upload procedure will begin. You will see a progress meter showing the completion and percentage of the upload. This may take several minutes, depending on the number of parameters you upload.
When the upload is completed, we recommend you save the project. However, you can export the list immediately if desired. To export and save the parameter list as a”. dw5” file, right-click on the screen, go to “Export,” and click on “Download list.” Alternatively, you can save the project by navigating to the “File” tab on the upper left of the screen and selecting “Save project.” Next, you will name your project and hit “Save.”
Parameter Download from COMBIVIS to your KEB Device
Watch: General Tutorial for Downloading Parameters to KEB Device

To perform a parameter download from your COMBIVIS 6 project to your connected KEB device, right-click on the Node in the “Navigator” window located by default on the far left of the screen. If it’s connected properly, there should be a green plug icon next to the node. In the drop-down menu, select “Add parameter list.” Check the “Import parameter list from file” checkbox and find your list on your computer in the pop-up window. Once you select your parameter file click the “Add” button. The parameter list is now added to the node.
Three Different Options to Start a Parameter Download
Once you have double-clicked on the parameter list in the Navigator window you have three options available to perform the download.
- You can right-click on the parameter list window, select download list, and click “Yes.”
- Another option to perform the download is to select the “F4” key with the parameter list open.
- The final way to perform a parameter download is to click on the icon at the top with a green arrow pointing down and select “Yes.”
After you start your download, a progress bar showing the percentage of the download will display on the screen. Some errors may occur during this process, specifically with password level, tuning parameters, and read-only parameters. This is normal, and you can select “Ignore all.” Your parameter download is complete when the progress percentage reaches 100%.
Making Parameter Adjustments in Combivis 6
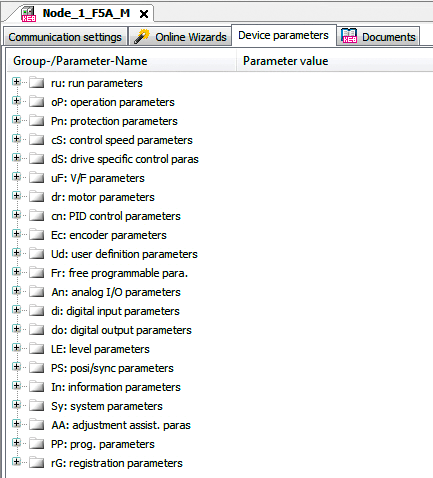
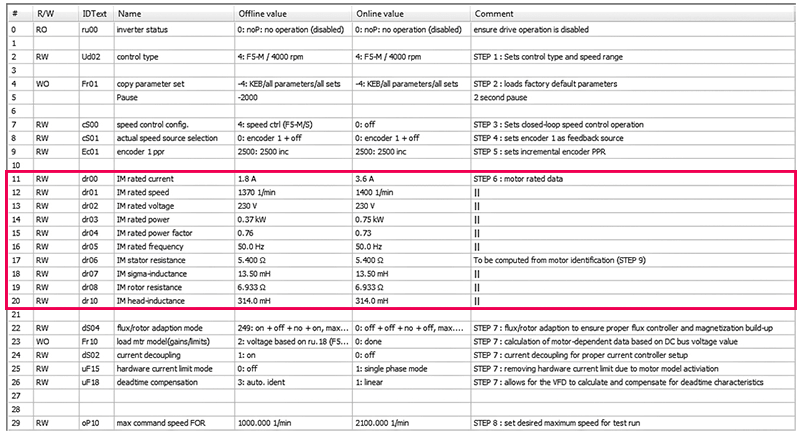
In Combivis 6, you can see the operator parameters, make parameter adjustments, and make a scope trace. In this example, we want to adjust the motor current. Simply click on “motor data” and scroll down to “motor current.” Double-click the parameter you want to change, and a pop-up window will appear. Type in your desired value and hit “OK.” The parameter has now been changed.
How to Start a Scope Trace
COMBIVIS 6 allows you to scope up to 16 parameters in one single scope trace using the built-in digital Oscilloscope. To begin, select the scope icon (which looks like a miniature line chart) in the top navigation bar. Next, you’ll want to name your scope and click “Add.”
Add the Parameters You Want to Scope
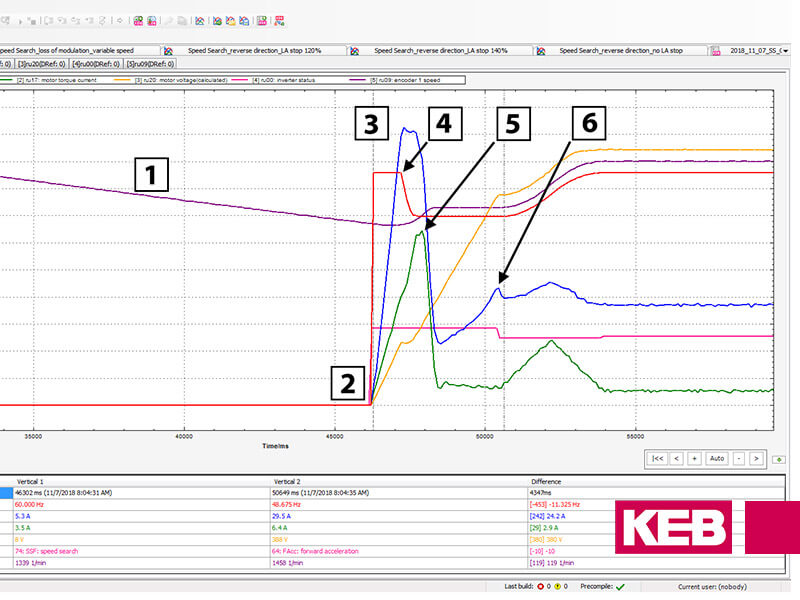
Now you are ready to begin adding parameters that you want to scope. With up to 16 possible channels to monitor inside KEB’s COMBIVIS software, we need to decide which parameter(s) are important to scope. Examples of useful parameters to scope include; encoder speed, motor phase current, DC bus voltage, and actual position. Once you identify the parameter(s) to scope, you can add a parameter to your scope by clicking the “new channel” button at the top of the screen. In the parameter section, select the group you would like to scope. In the “Group” dropdown menu, you can select which parameter group you want to scope. We select the “DG: Diagnostic Parameters” group in the video example.
Next, you will select the specific parameter you want to scope. In our example, we select “DG06: Motor Current” and click “Add Channel.”
On the next screen, you can adjust the scope scale or rely on the auto scale option. You can also adjust or select the autoscale function available later.
Start the scope
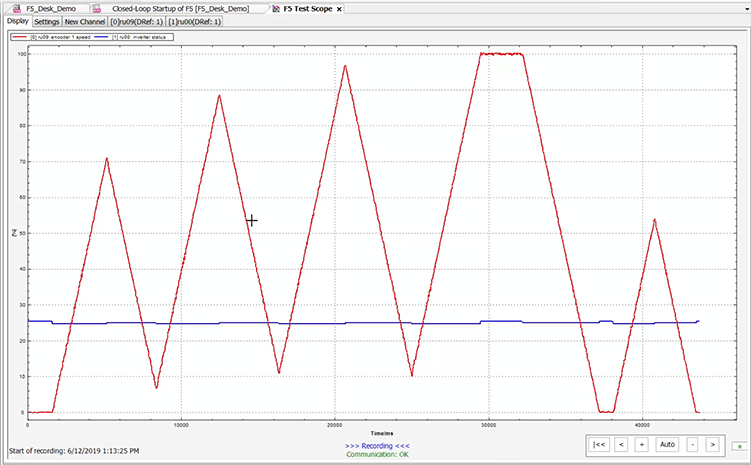
To display the scope, go to the upper left-hand corner and hit “Display.” To start scoping your selected parameter(s), right-click on the screen and select “Start Scope.” As soon as you select this button COMBIVIS will begin the scope trace. When you are ready to stop the scope, you need to right-click on the screen again and select “Stop Scope.” You will want to select the “Auto” button at the screen’s lower right-hand corner to scale the scope to an ideal magnification for review.
Multiple parameter uploads and scope traces can be attached to the same COMBIVIS project. This allows the machine operator to take uploads of multiple elevator cars, scope multiple cars, and have this all contained in one easy-to-open project.
Conclusion
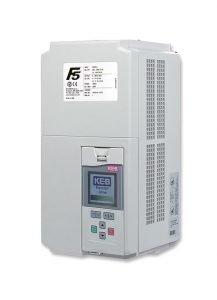
This is the basic setup for connecting COMBIVIS to the KEB F5 elevator Drive, taking parameter uploads and parameter downloads, and performing scope traces in the digital oscilloscope function. For more information, don’t hesitate to contact us to connect with an engineer who can assist you with your application.
Related Articles

Let's Work Together
Connect with us today to learn more about our industrial automation solutions—and how to commission them for your application.